Despite having over 100 indoor plants, it turns out not all things green can make it out alive in our humble abode. My dear husband and I fancied ourselves as Bonsai enthusiasts, but boy oh boy, those little trees just couldn't handle our love (aka: watering schedule). Let's just say that the sixth time is NOT a charm! Instead of giving up and tossing our latest victim in the bin, I took matters into my own hands and decided to get a bit creative.

Supplies:
Dead Bonsai (RIP little friend!)
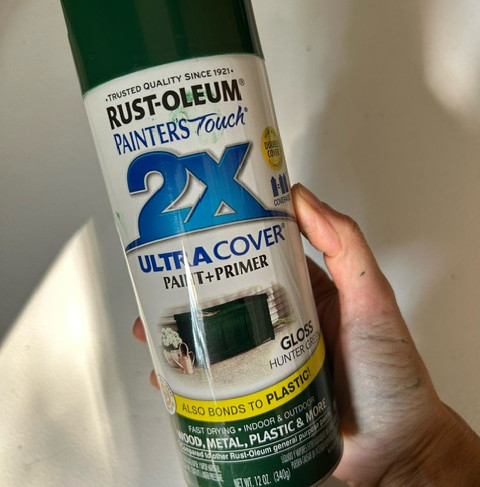
Green Spray Paint (any shade desired)
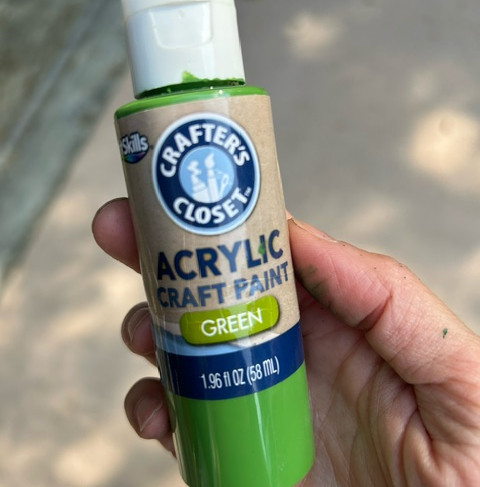
Green Acrylic Paint (any shade(s) desired)
Old Paint Brush
Clear Acrylic Coating (optional)
Steps
1. The Perfect Location & Area Prep
When it comes to spray paint, things can get a tad messy, so I recommend a spot with some fresh air where you can unleash your inner artist. I personally prefer to take everything outside and lay it on an old trash bag that I've cut open. If I'm feeling fancy, I might even fashion a makeshift painting studio by draping that bag over a wooden palette perched on two trusty sawhorses. Oh, and don't forget to shield the pot and tree stem from a colorful makeover - they're not ready for that kind of commitment just yet!


2) All About that Base
I started with the base color, a green spray paint that I had in my cabinet from an old recycling box project. Shake and spray baby!

This is one of those instant gratification projects, because as soon as you start spraying the leaves green, it immediately starts bringing renewed joy to your heart. The bottom limbs you see in the image are the "before," and the top limbs are the "after" color. Spray all over the leaves at different angles until completely covered, then sit back and enjoy the transformation while it dries.
3) Dab with Delight
Once your masterpiece is dry and ready to shine, it's time to add those highlights for that extra "oomph"! I was in a hurry, so didn't have the patience for multiple colors, but if you want to take it to the next level, go crazy with those shades! I grabbed a brighter shade of green in acrylic paint and a paintbrush that was basically begging to be thrown out. Then, I delicately dabbed paint on the tips of some branches, making sure not to overdo it. If you're feeling the multiple shade vibes, start with the dark ones first and then sprinkle those highlights on like confetti.

4) Preserve in Time
Once the paint is all dried up and ready, it's showtime for the acrylic sealing paint! I always have a secret stash of clear spray cans for these spontaneous DIY adventures. Before you go all Picasso on your plant, make sure to scrape off any rogue paint that wandered onto the main trunk or pot - as you don't want to seal those in for eternity! Then, unleash the spray all over your green buddy and let it bask one more time in the outdoor air. Dress the soil up with some pebbles or sheet moss for some extra pizzazz before you unveil its grand entrance to its new home.
The Result
Our Bonsai now proudly resides in the heart of our house for all to see. And the best part? I no longer need to play detective on who forgot to water it or worry about finding the perfect lighting spot. This little guy is as chill as it gets, without being a plastic imposter!

Let's Chat
I'd love to hear from you - have you ever revived something with paint?
Be sure to subscribe to my blog for more craft projects and book reviews!
Comments